Our recommendations are made independently through Research & Testing. We may receive commissions from purchases made via our links.
How to Freeze Strawberries
Summer is strawberry season, but you can enjoy them well into the winter months by learning how to freeze strawberries.
Though strawberries are a summer produce, you can enjoy them well beyond their season by learning how to freeze strawberries. The process is fairly straightforward and you don’t need special skills or equipment to properly freeze a batch of fresh berries.
Strawberries are also on the short list of fruits that can maintain their original flavors post-freezing. So, there’s no reason to avoid throwing them into the freezer!
Can You Freeze Strawberries?
Strawberries are completely safe to freeze. When properly stored, frozen strawberries can last 3 to 6 months depending on how they were prepped (whole or sliced).
In fact, according to research, freezing is the best way to preserve strawberries. Frozen strawberries have a superior flavor compared to canned or dried ones.
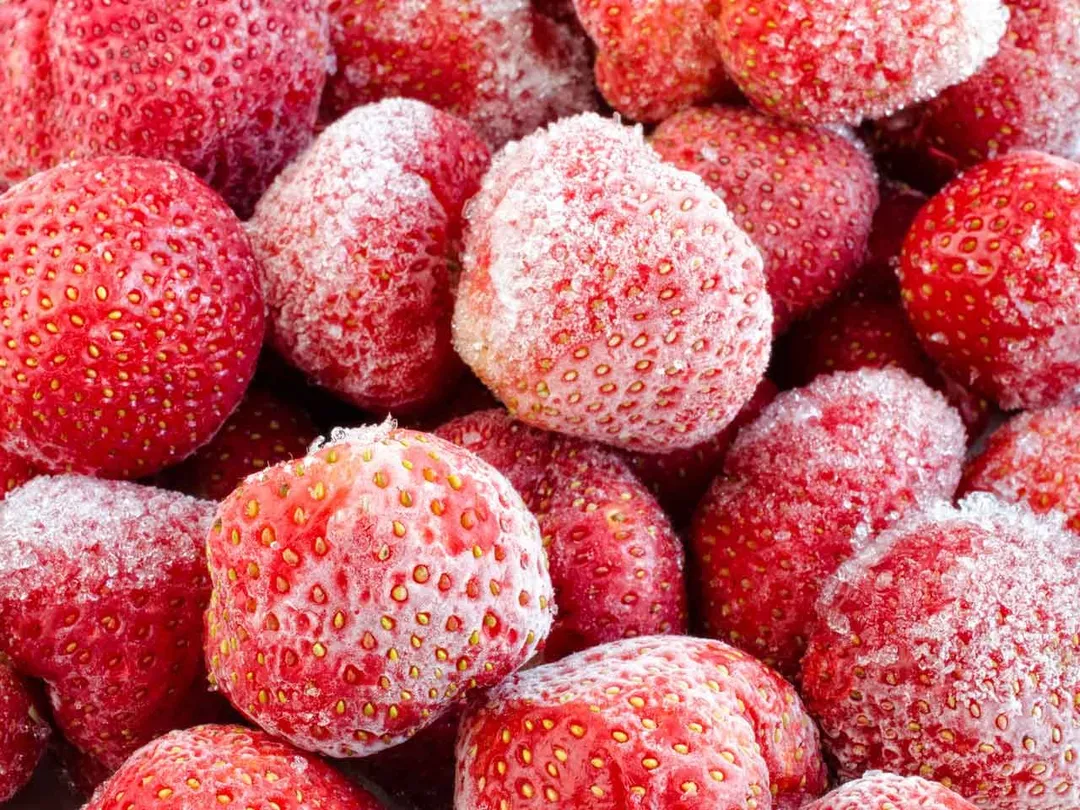
Note, however, that the fruits’ natural texture won’t be as well-preserved. Strawberries are known to turn soft and mushy when they’re thawed. This won’t be a problem if you plan to use frozen strawberries in jam, smoothies, or pies.
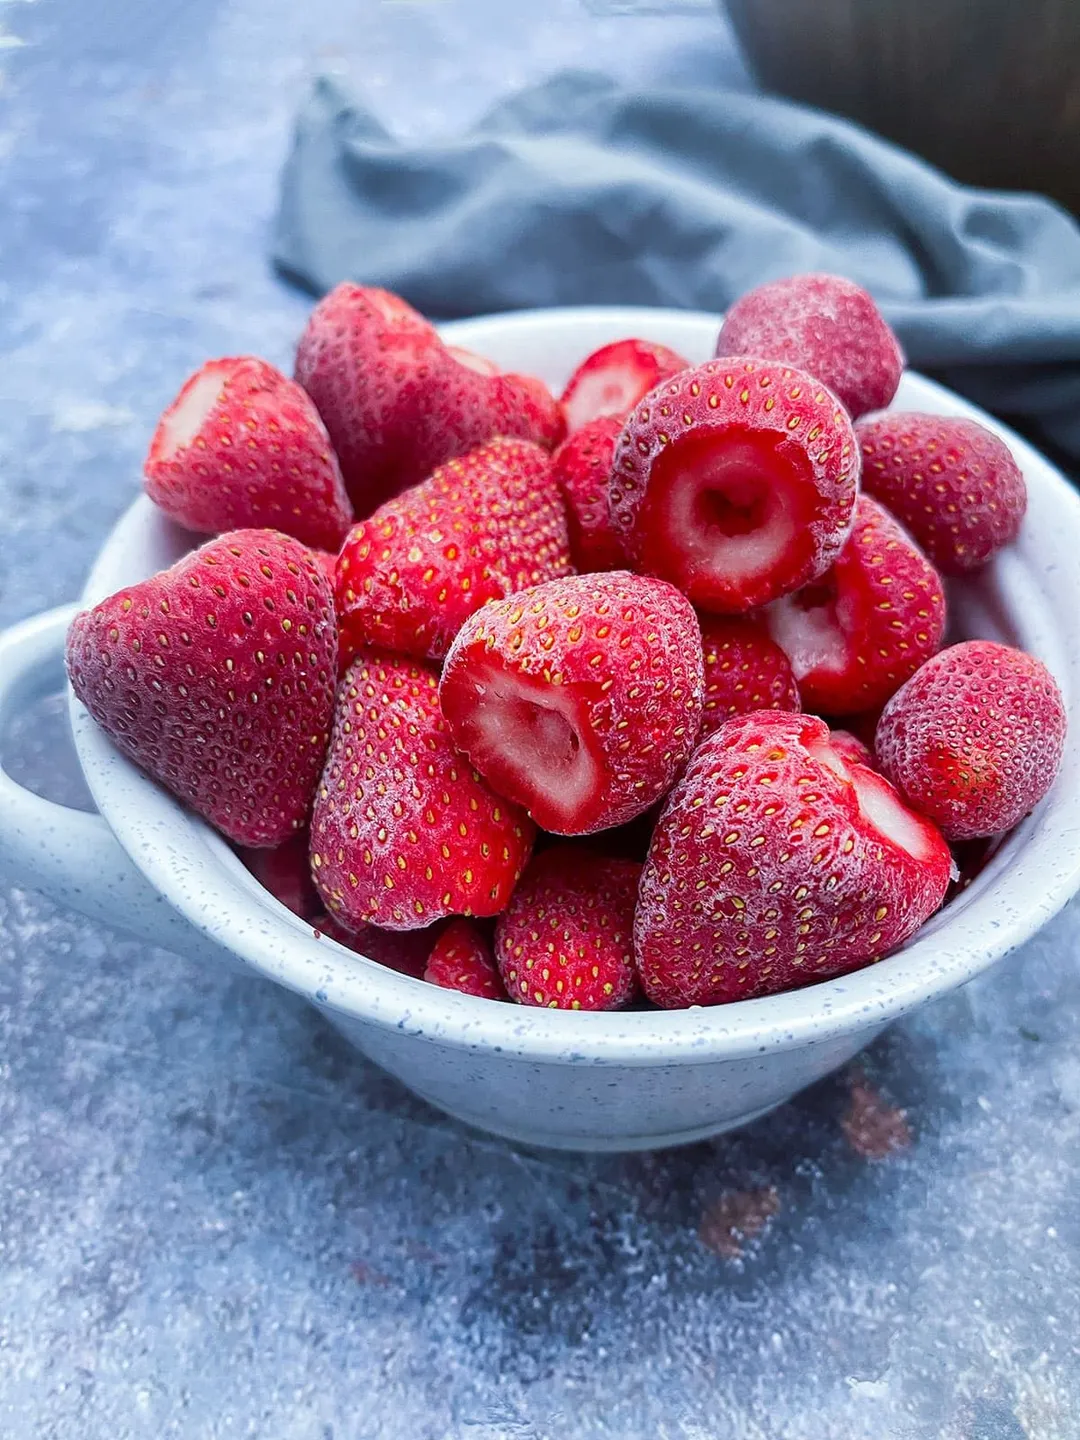
However, if you like to eat whole strawberries, we recommend that you do not let them thaw all the way. Chow down while there’s still a little ice or frost on the fruits’ surfaces.
Can You Freeze Chocolate-Covered Strawberries?

Chocolate-dipped strawberries are enormously popular as a treat, snack, or gift. All three purposes may require them to last for a very long time.
The problem, of course, is that strawberries don’t last very long. Fresh strawberries — dipped in chocolate or not — last only a single day at room temperature before spoiling. When refrigerated, the shelf-life is 3 days, which is still modest.
For long-term storage and consumption, the best way to go about preserving this delectable treat is by freezing using the same process outlined below. Once frozen, chocolate-dipped strawberries can last up to 3 months.
How to Freeze Fresh Strawberries
There are four “methods” to freezing strawberries.
Although the freezing process is the same from one method to another, the key difference lies in what you do to the strawberries to prepare them. Depending on how you plan to use them later, strawberries can be frozen whole, sliced, crushed, or puréed.
If you like to eat entire strawberries as snacks, the best option is to freeze them whole.
On the other hand, slicing, crushing, or puréeing will be better if you need them for your pastries or smoothies. Not only will this make your frozen fruit easier to store than whole strawberries, but the flavor will be better too.
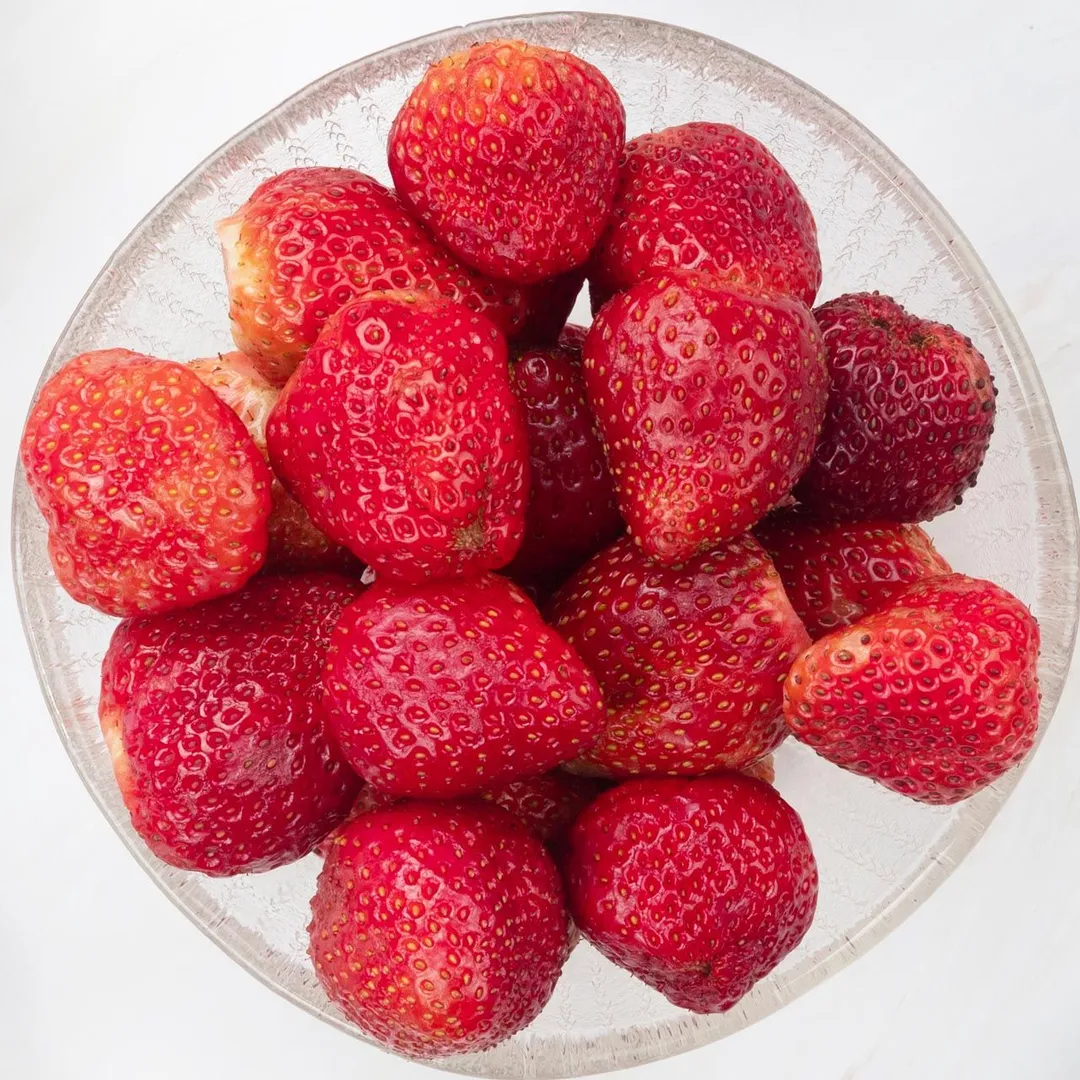
What Kind of Strawberry to Freeze?
Selecting the correct kind of strawberry to freeze is crucial. A bad strawberry is still a bad strawberry, whether fresh or frozen.
Therefore, choose only firm and vibrant red strawberries that are fully ripe. Before you begin, pick a random one from the batch and taste it. The berry should taste sweet with only a hint of tartness.
The Best Way to Freeze Strawberries
1. How to Clean & Prepare Strawberries for Freezing
Cleaning
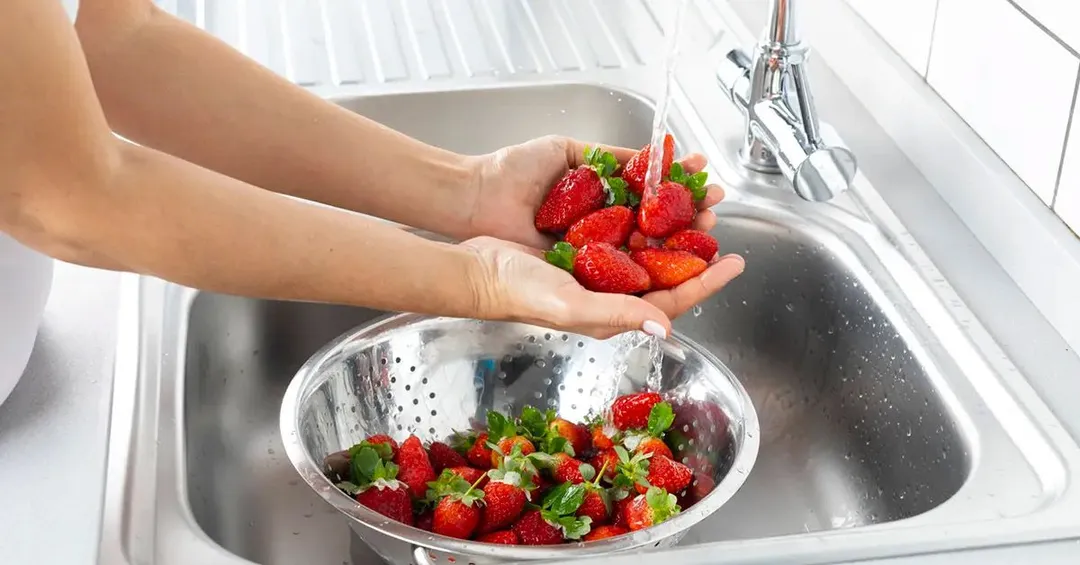
It’s important to wash and prepare the strawberries before freezing. No matter which method you choose, this step has to be done first.
Give all of the berries a thorough rinse using cool tap water. Gently scrub each berry as they’re being rinsed to fully dislodge any dirt residues from their skins.
It’s generally frowned upon to soak the berries in a sink or a tub. If one of the berries is contaminated (with pesticide, for example), this practice can spread the contaminant to the entire batch.
We also don’t recommend washing the strawberries using detergent. The skin of the fruits can absorb the detergent.
When you’re done, drain the berries using a strainer and wipe off all of the excess moisture with a clean, dry cloth. If you freeze the berries with leftover moisture, frost can form on the skin and potentially cause freezer burn.
Preparation
You have the option of preparing your strawberries the careful way or the quick way.
If you have some time on your hands, you can hull the strawberries. Dig the tip of your knife down into the top portion of the strawberries and cut in a circle. The objective is to take out the cap (the part from which the leaves sprout).
If you don’t have that sort of time, you can cut straight across and separate the upper portion of each berry. A bit of the strawberry’s consumable flesh will get removed, but it’ll be done quicker.
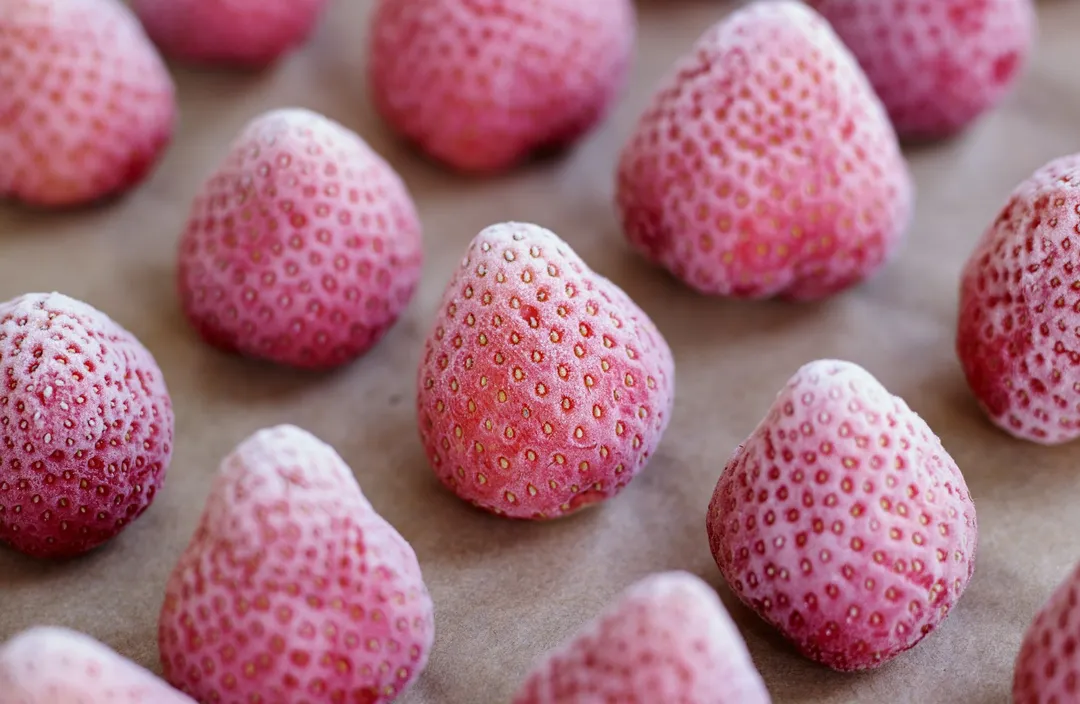
2. Freezing Whole
Once the berries are prepped and ready to go, arrange all of the strawberries on a parchment-paper-lined baking sheet.
We recommend placing the strawberries with the flatter top side down. If you place them on their side, they can roll around. Plus, it saves more space on the baking sheet and you can freeze more at once.
Ensure that the strawberries don’t pile atop or against one another and that there is plenty of space between them. If the fruits touch one another, they can stick together and be difficult to remove once they’re fully frozen. This means you may have to separate them into batches if they don’t all fit on your baking sheet.
Once arranged, place the sheet into the freezer and allow the strawberries to freeze overnight (at least 5 to 6 hours).
In the morning, transfer the frozen strawberries into resealable plastic bags. Squeeze out as much air as possible and label each bag carefully with the name and the current date.
You’re finished! Just place the bags back into the freezer for storage.
3. Freezing Sliced, Crushed or Puréed
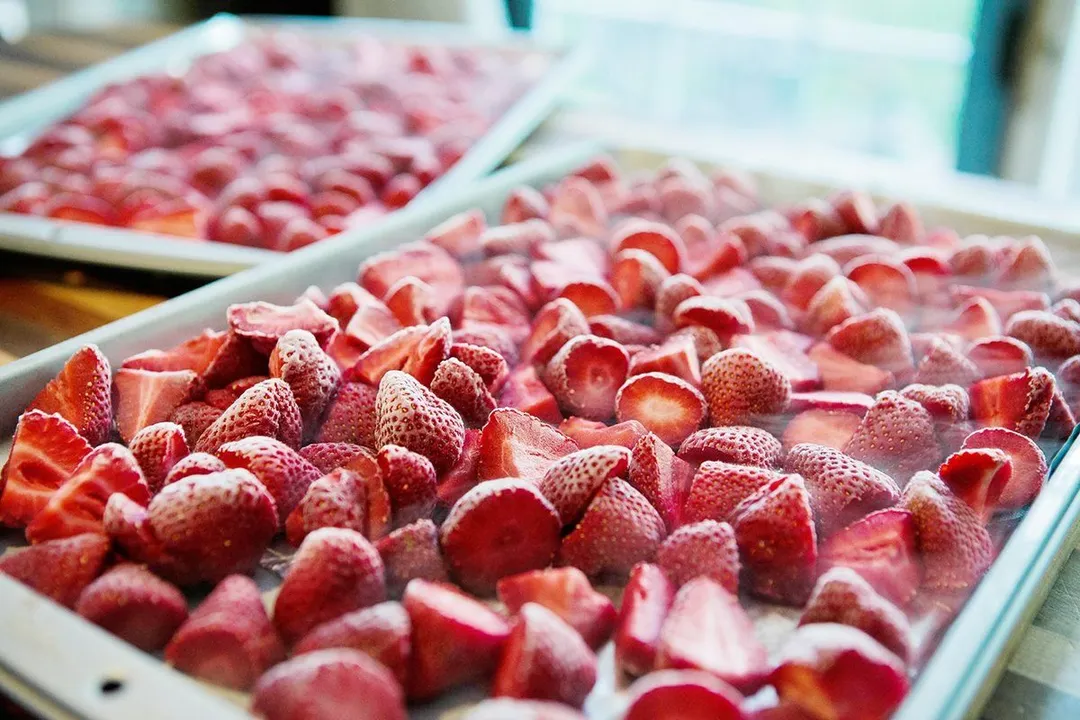
Sliced
After washing and prepping the strawberries, continue to process the strawberries in the manner that you prefer.
If you want your strawberries to be sliced, get to chopping. The size of each slice doesn’t matter — just cut them the way you like best.
Place the slices onto a parchment-paper lined baking sheet, freeze overnight, then transfer into labelled plastic bags.
Return the bags to the freezer for storage.
Crushed & Puréed
On the other hand, if you want them crushed, place the strawberries into a bowl and mash them up. Crushed strawberries should still have a few large, discernible chunks in the pile.
For puréed strawberries, place them into a food processor to turn them into a strawberry paste.
For both of these methods, you have to pour the mashed or puréed strawberries into plastic bags first. Squeeze as much air out of the bags as possible before putting them into the freezer overnight.
Check the frozen strawberries inside of the bags the morning after, then label them clearly.
Place the bags back into the freezer for storage.
Conclusion
Learning how to freeze strawberries isn’t all that difficult. We hope this guide will save your strawberries from spoilage in the future.
Authors

Luna Regina is an accomplished writer and author who dedicates her career to empowering home cooks and making cooking effortless for everyone. She is the founder of HealthyKitchen101.com and HealthyRecipes101.com, where she works with her team to develop easy, nutritious recipes and help aspiring cooks choose the right kitchen appliances.