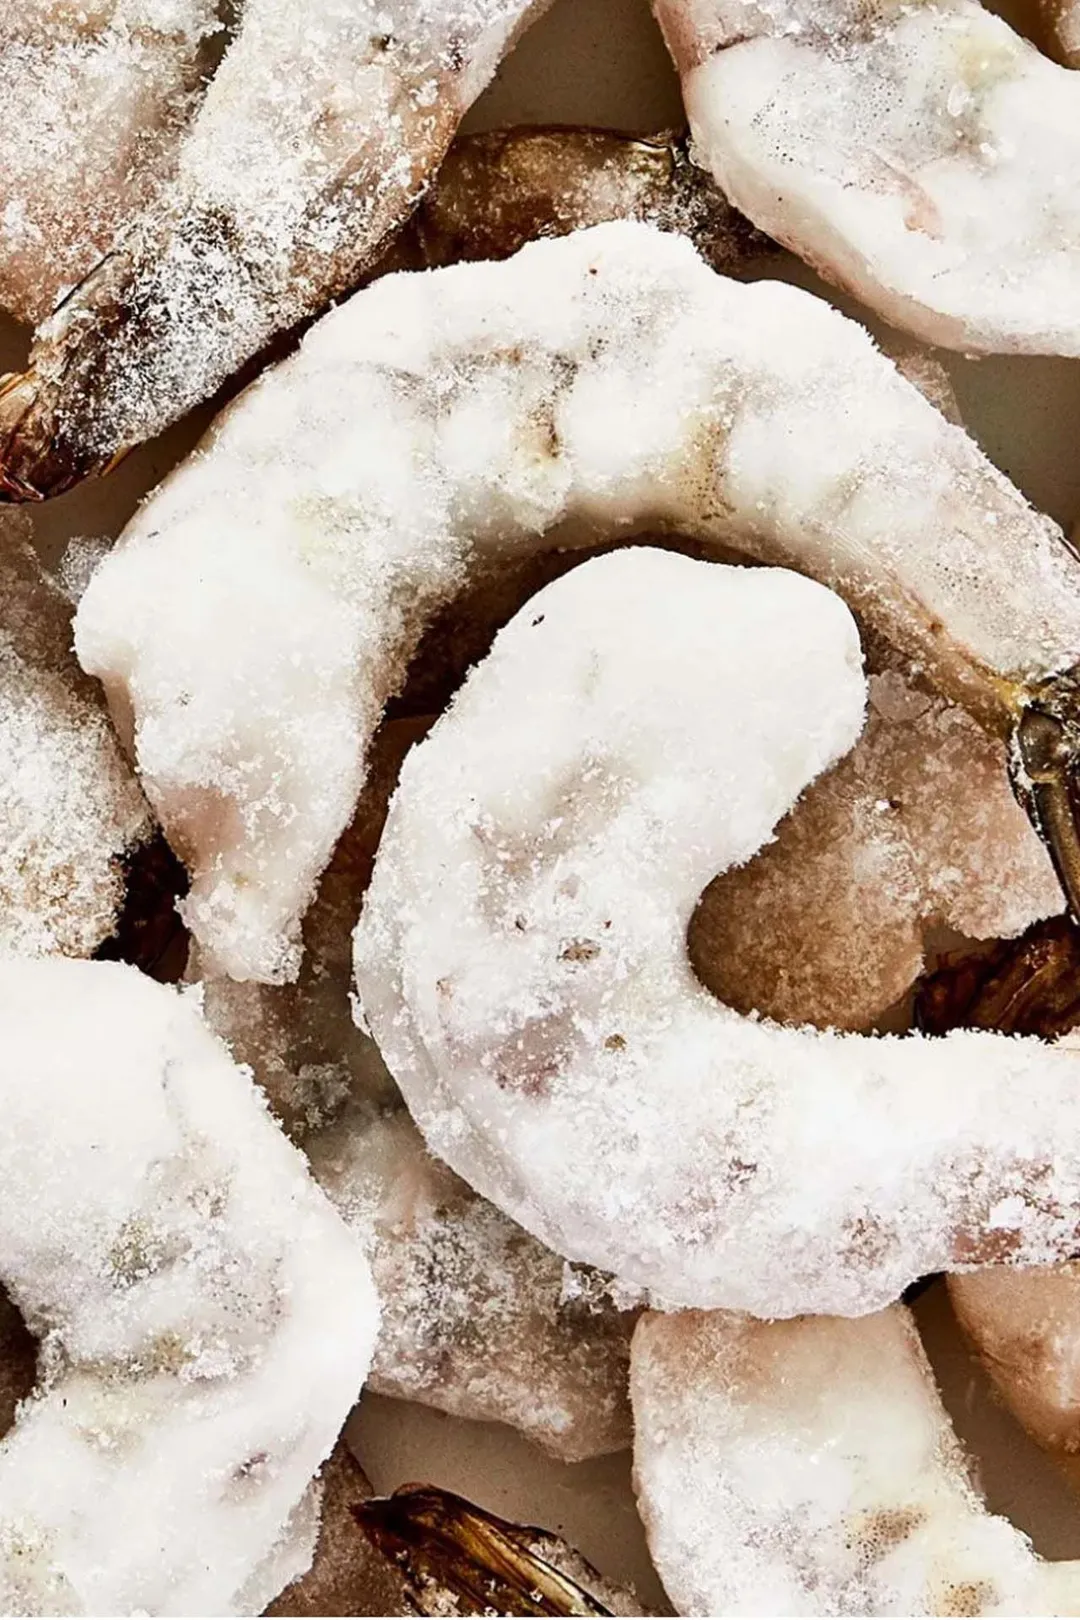
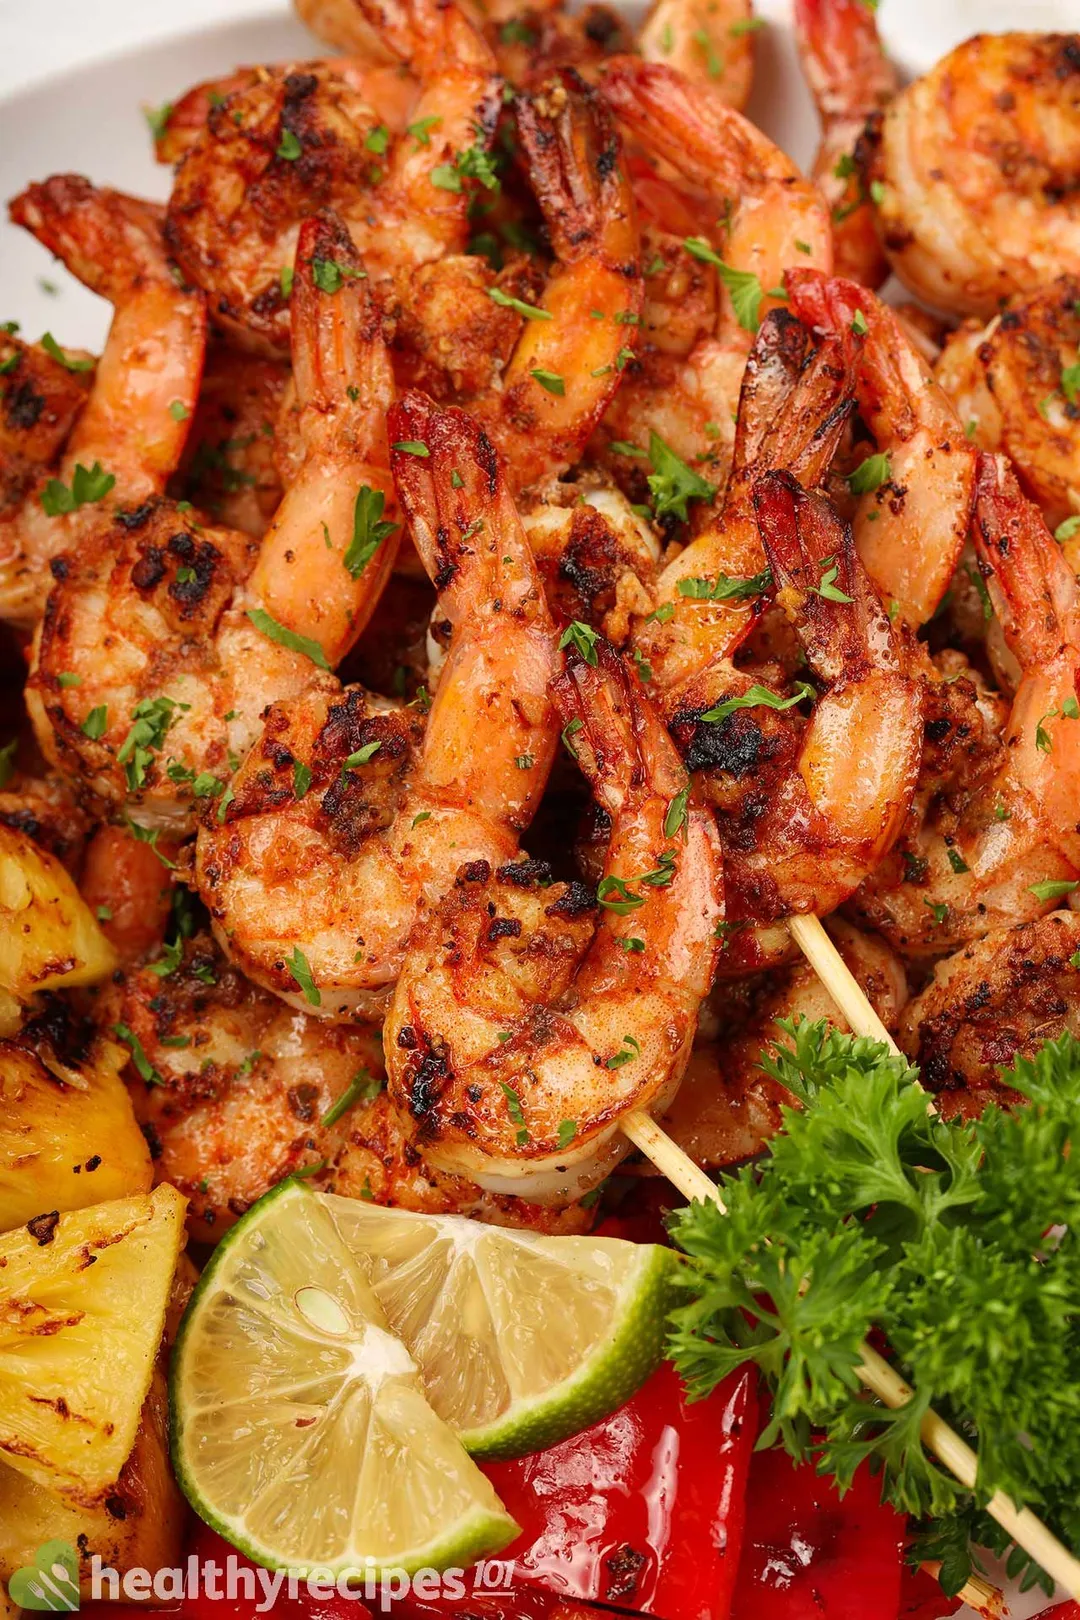
It is a requirement for seafood lovers to know how to defrost shrimp properly.
Shrimp are highly perishable and can spoil in a matter of hours. As a result, if you go to the supermarket, the only shrimp you will see on display are the frozen variety, including the ones inside the ‘fresh’ display.
If you want to make a shrimp-themed recipe at home, there’s no way to avoid the defrosting step.
In this article, we’ll show you all of the methods to defrost shrimp quickly and safely in your kitchen.
Shrimp Safety 101
Seafood tends to have a bad rep when it comes to safety.
It’s not like beef or poultry, both of which can be stored for up to 5 days at the right conditions. All seafood — shrimp included — is highly sensitive and can spoil in a single day, if it’s not stored correctly. Even when it’s refrigerated or locked up well, most seafood will go past its prime in only 2 days.
But out of all kinds of seafood, shellfish is usually the type that most people are anxious to prepare.
Shellfish allergy is among the most common food allergies in the US. The risk of developing an allergic reaction already gives a lot of people pause before they dive into a shrimp cocktail. Over the years, many cases of poisoning due to shellfish have also caused people to look upon foods like shrimp with dubious eyes.
But the fact of the matter is that shellfish are naturally dirty.
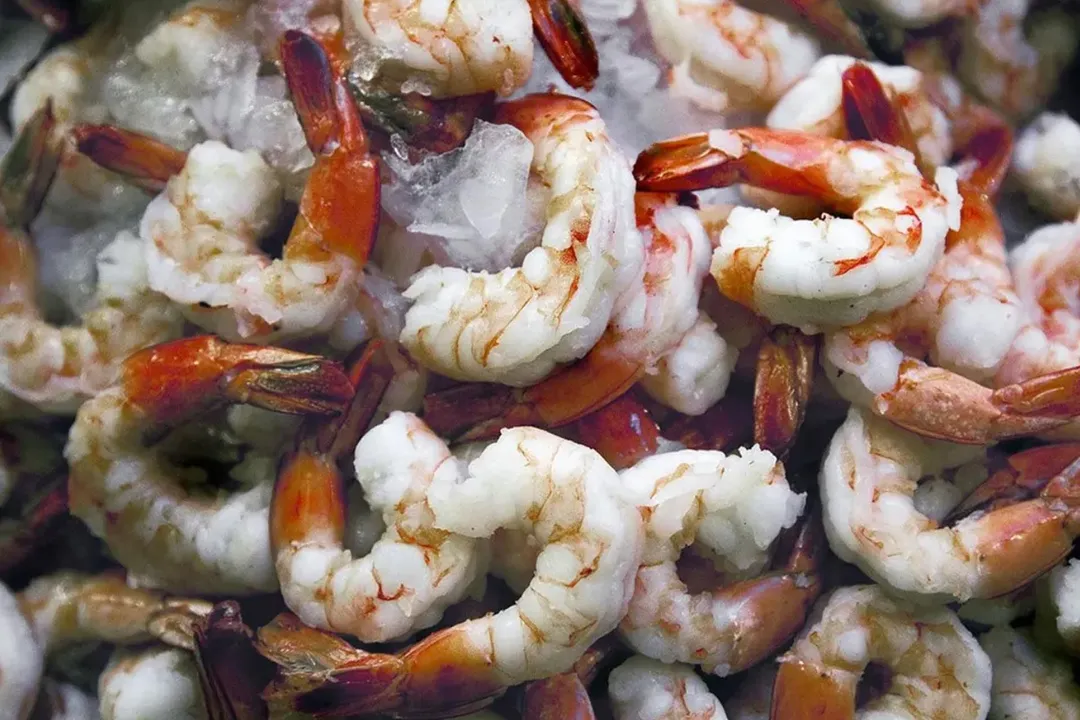
Gather a bunch of raw shrimp and look at them through a microscope. You will find them bristling with bacteria, from Escherichia coli (E.coli) to Salmonella and Vibrio. If the shrimp are improperly defrosted, these bacteria may thrive, multiply, and eventually cause poisoning.
But we’re not trying to scare you off from eating shrimp or shellfish for the rest of your life. The good news is that there’s little for you to worry about as long as you defrost the shrimp properly.
The tidbits of information above are there to simply make you aware of the risks. They are the reason why you need to take food safety and defrosting seriously.
What Is the Bacteria Danger Zone?
According to the USDA, the temperature danger zone for bacterial growth is in the range between 40°F and 140°F. Within this range, bacteria grows extremely quickly. If the temperature of your food stays inside this range for too long, it will eventually become unusable.
The key to defrosting properly is to make sure that your food never stays in the danger zone for too long.
This is the reason why defrosting on the countertop — something that many people do — is so dangerous. The warm ambient temperature allows bacteria to grow, causing spoilage and poisoning.
So, instead of putting your shrimp on the countertop for a few hours, here is what you should do.
The Best Ways to Thaw Shrimp Fast
All in all, you have three methods to choose from. Each one will have a distinct set of advantages and disadvantages. The thawing time is going to be different for each of them, too, so you can pick-and-choose depending on how much time you have.
1. Defrosting Shrimp in the Fridge
In the fridge is, by far, the easiest and safest way to defrost your shrimp. It simply involves transferring the frozen shrimp from the freezer to the fridge. Leave it there overnight and, in the morning, you will have a container full of nicely defrosted shrimp to cook.
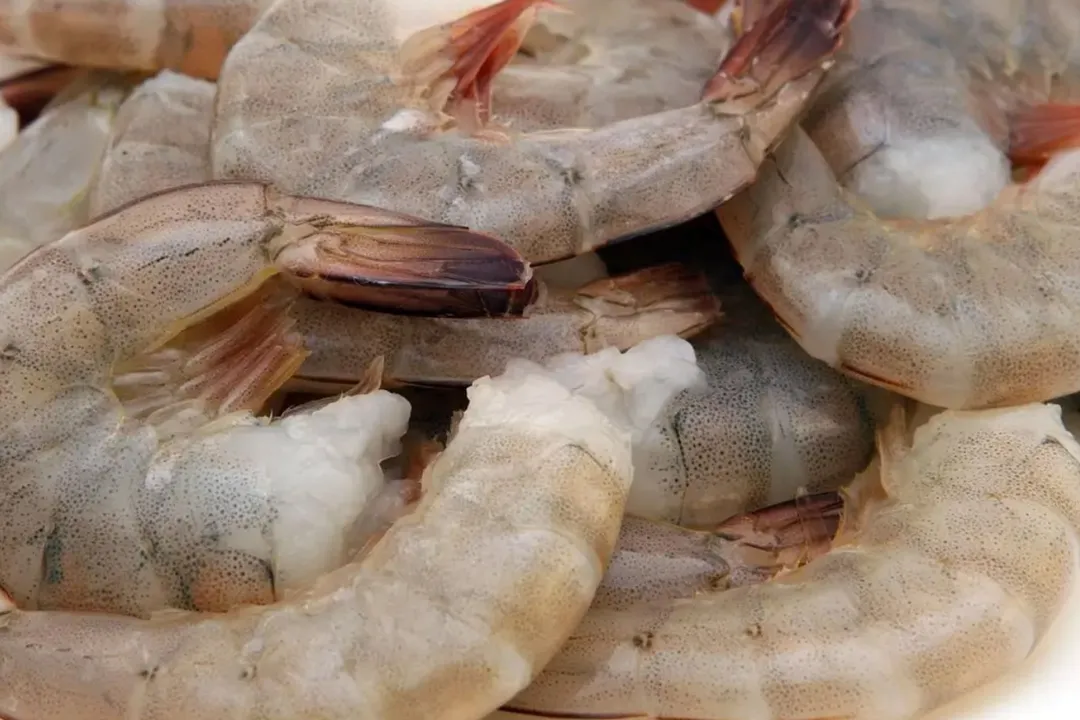
All refrigerators’ thermostats are typically set below 40°F. As a result, bacteria isn’t going to be a problem.
The sole disadvantage of this method is that it takes quite a lot of time and will require you to plan ahead. It will take at least 12 hours for the shrimp to fully defrost. Once they have, cook within 48 hours or you will have to discard them.
Here are the detailed instructions.
2. In Cold Water
If you don’t have 12 hours, you can dip the shrimp in cold water, instead. With this method, your shellfish will defrost in 45 minutes to an hour.
Despite the water being cold, the frozen shrimp are much colder. The resulting difference in temperature will transfer heat into the shrimp, thawing it.
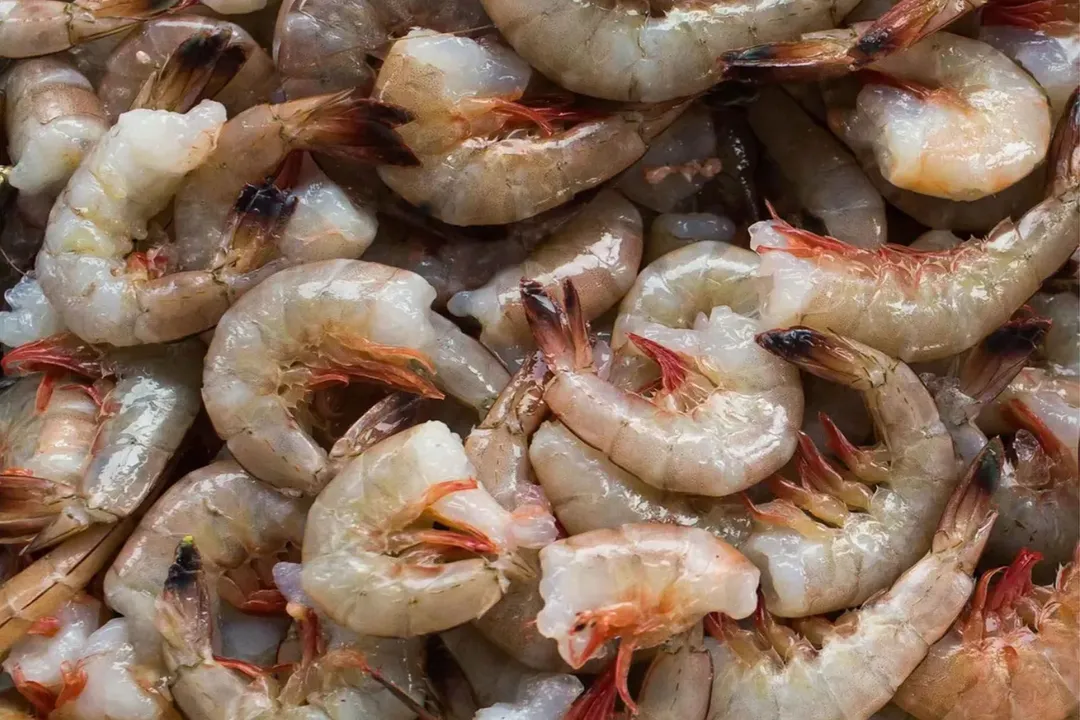
Step 1: Pack Up the shrimp
Remove the shrimp from their original packaging and put them into a watertight Zip-Loc bag.
Seal the bag carefully so that water cannot enter.
Step 2: Prepare the Water
For this step, you can use anything that holds water. Your water container of choice should be large enough to fully immerse the bag of shrimp.
If you don’t need to use the sink for a while, fill it with water and you can use it instead. Alternatively, you can use a large pot or plastic container.
Fill the container with cold water. The temperature of the water should be 70°F or lower. You can use a thermometer to see if your tap water has the correct temperature for defrosting.
If it’s too warm, you can add ice cubes to quickly cool it down.
Step 3: Submerge the Bag and Change the Water Periodically
Put the bag into the cold water. Make sure that it is completely immersed.
Change out the water after half the time has passed (about 20 or 30 minutes in). Else, the water is going to become too warm. This will cause your shrimp to heat up too quickly, putting them at risk of being overrun by bacteria.
Step 4: Cook Immediately
Cook the shrimp immediately. Don’t wait. The temperature will be too warm by this stage and, if you wait, bacteria will take the opportunity to ruin the batch.
Alternative: Add the Shrimp Directly into the Water
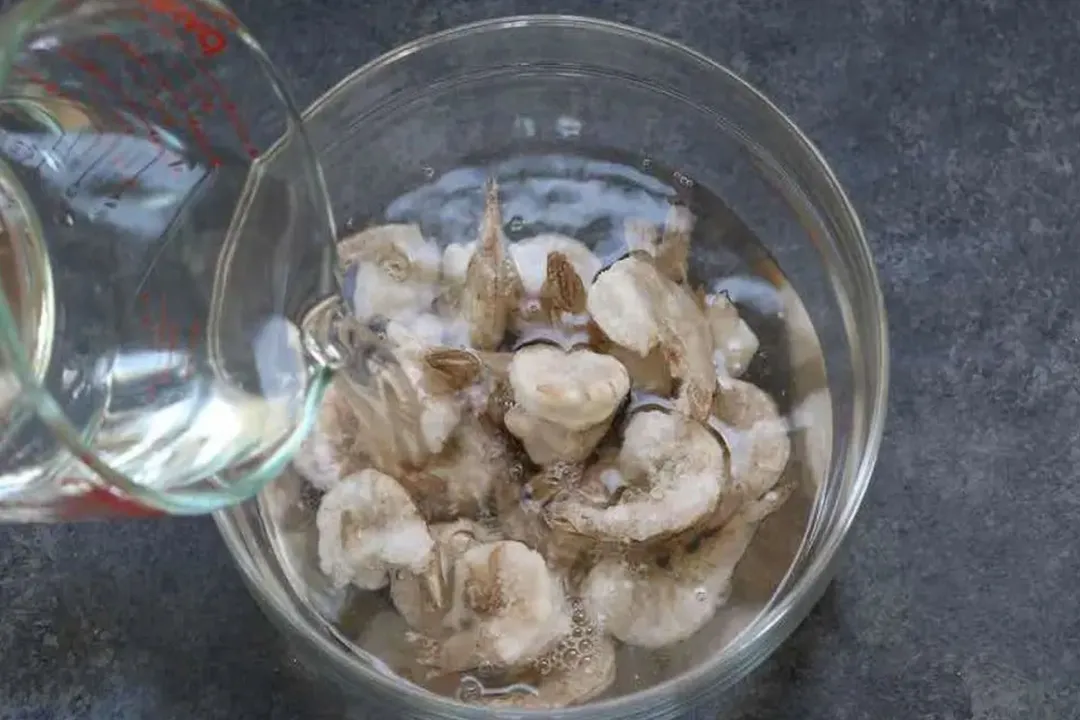
If you’re very short on time and cannot wait for 45 minutes, you can modify this technique a little. Instead of placing the shrimp in a Zip-Loc bag, add the shrimp directly to the water container.
Now that the shrimp are in direct contact with the cold water, they will thaw in less than 20 minutes.
Once they are defrosted, pat dry with a dry towel, then cook immediately to avoid spoiling or bacterial infections.
3. In the Microwave
Defrosting in the microwave isn’t typically ideal. The heat from the microwave is so strong that it can cook your foods outright rather than thawing. It also sucks out a lot of moisture, causing your foods to become chewy.
Fortunately, with shrimp, you can use an unconventional technique to get around these problems.
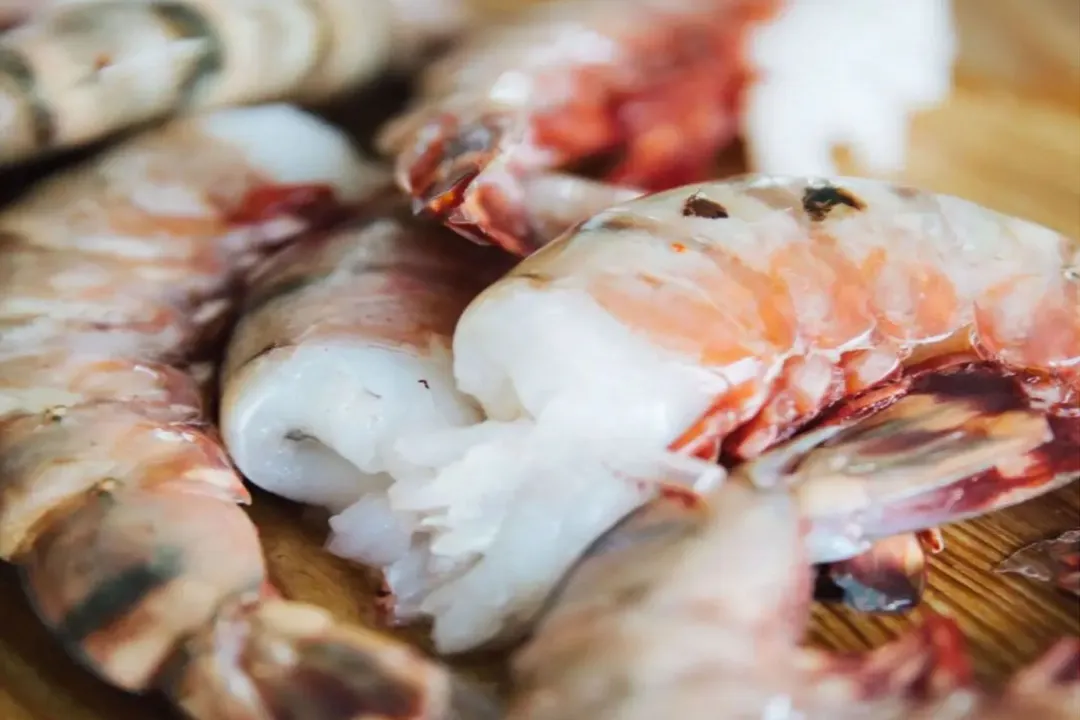
Step 1: Prepare a Bowl of Water
Take out a microwave-safe bowl and fill it with water.
The water has two jobs. First, it will prevent the shrimp from cooking while they’re defrosting. Its second job is to keep the shrimp moist.
Step 2: Add in the Shrimp
Add the shrimp directly to the bowl of water.
Step 3: Microwave
Tune the microwave to Defrost mode using the control panel. Set the timer for 15 seconds.
Heat in 15-second bursts up until the shrimp are adequately defrosted. It will take only 1 or 2 minutes for all of the shrimp to heat up to a decent temperature.
Monitor the temperature of the water closely with a thermometer to make sure that it’s not so hot that it cooks the shrimp.
Step 4: Cook Immediately
By the time you’re done, the shrimp will be at room temperature, which is dangerous. The moment you take it out of the microwave, cook it immediately. Don’t wait.
Conclusion
Defrosting shrimp is simple and easy. But, like we mentioned earlier, you shouldn’t underestimate it considering the risks involved.
Hope this guide on how to defrost shrimp has been helpful to you!
Tuyet Pham
Head Chef, Culinary ConsultantLuna Regina
Writer, Author