Shrimp holds an irreplaceable place on the dining table, whether we're talking everyday meals or fancy feasts. That said, the preparation process of this beloved seafood can be a bit meticulous and time-consuming, unless you know what you're doing. With this article, we'll give you a step-by-step guide on how to peel and devein shrimp in the quickest and easiest way, so you'll have plenty of time and energy left to focus on crafting the best possible shrimp dishes.
Why You Should Peel & Devein Shrimp
It's not without reason that these are two of the most important steps when preparing shrimp. Shrimp shells are perfectly safe to eat, but they can be tough and unpleasant to chew on, so it's better to peel them off for a more enjoyable eating experience.
As for deveining, you'll essentially be removing a dark, thin tube that is its digestive tract. This also isn't dangerous to eat, but it might be sandy, bitter, or gritty, so it’s better to remove it beforehand.
The Tools You'll Need
This is a pretty straightforward process, so you won't need much. Here are some of the main necessities:
- Fresh shrimp
It goes without saying that this is a must. Choose high-quality shrimp that are firm and translucent (no black spots or yellowing body) with intact shells and tails. Fresh shrimp will usually have a mild sea odor that isn't too fishy or ammonia-like.
- Paring knife
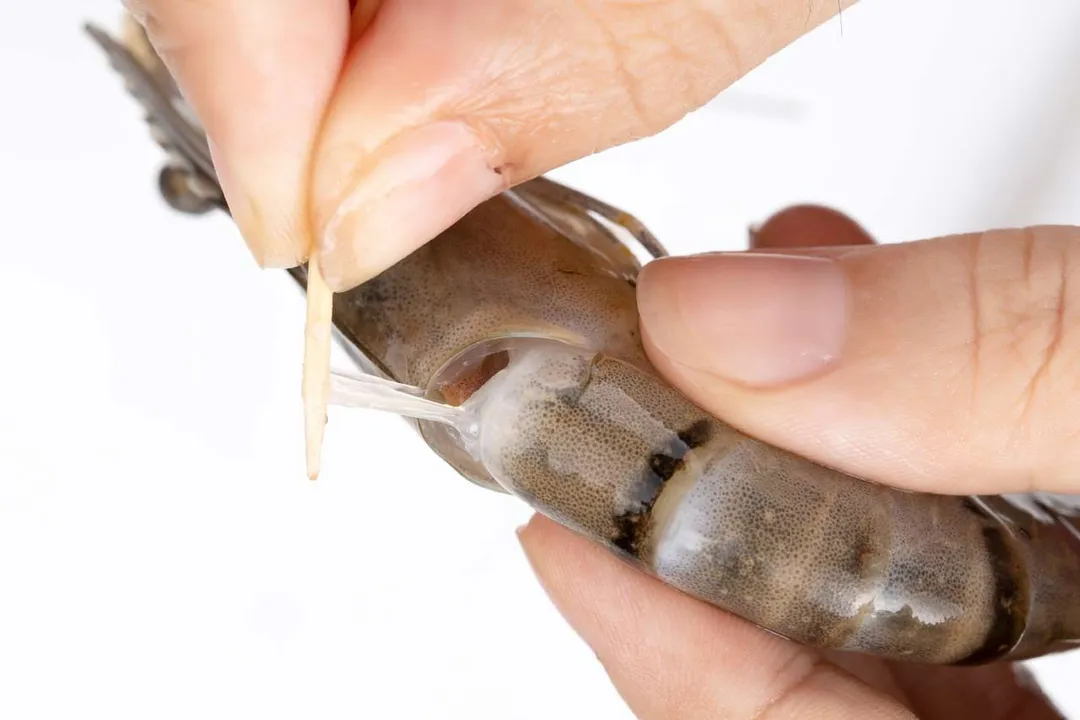
This is an optional tool to give a precise slit or cut alongside the vein. If you don't have it, toothpicks will also do the trick.
- Small bowls
Have at least one or two bowls to separate the peeled and deveined ones from the unprepared ones.
How to Peel Shrimp
- Step 1: Prepare the shrimp
If you're using frozen shrimp, make sure to thaw the package in cold water for at least 30 minutes in advance. Fresh shrimp, on the other hand, only need a quick run through water to remove any dirt residue.
- Step 2: Remove the head
Firmly hold the shrimp in your hand and gently twist off the head.

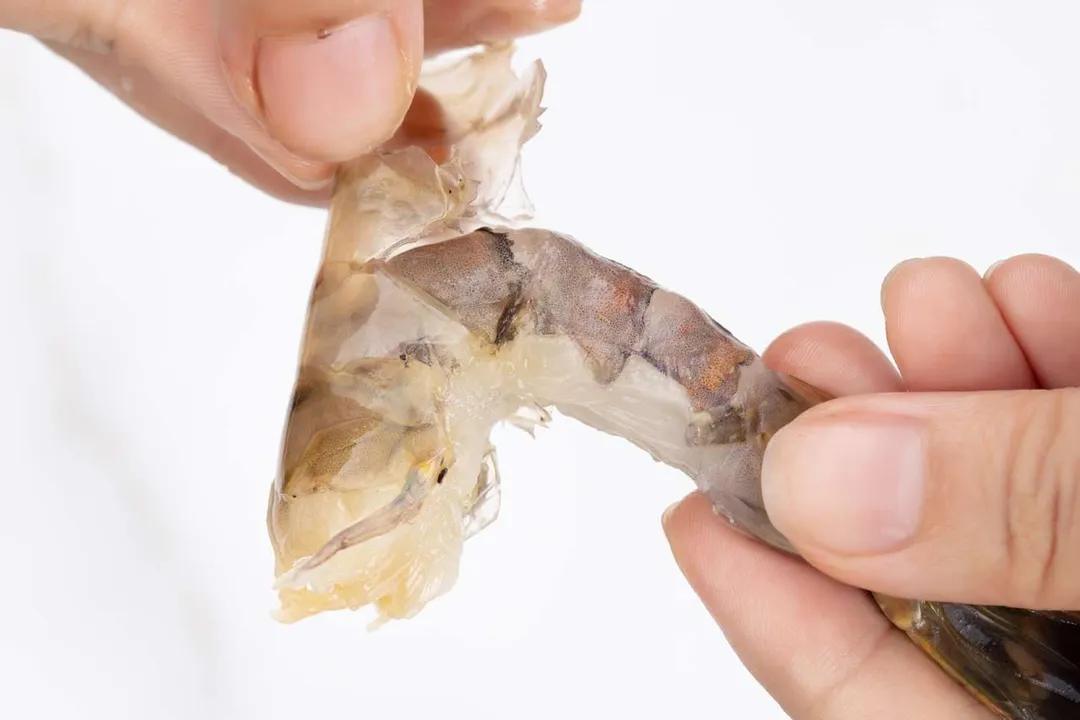
- Step 3: Remove the shell & legs
On one hand, hold the shrimp with the underside facing upward and use the other to pinch onto the legs and gently pull them off. Then, continue to peel back the shell along the body of the shrimp. You can take the tails off or leave them on, either one is fine.

How to Devein Shrimp
- Step 1: Make a shallow cut
Using a paring knife, make a shallow cut along the back of the shrimp following its natural curve. Be careful not to cut too deeply into the flesh.
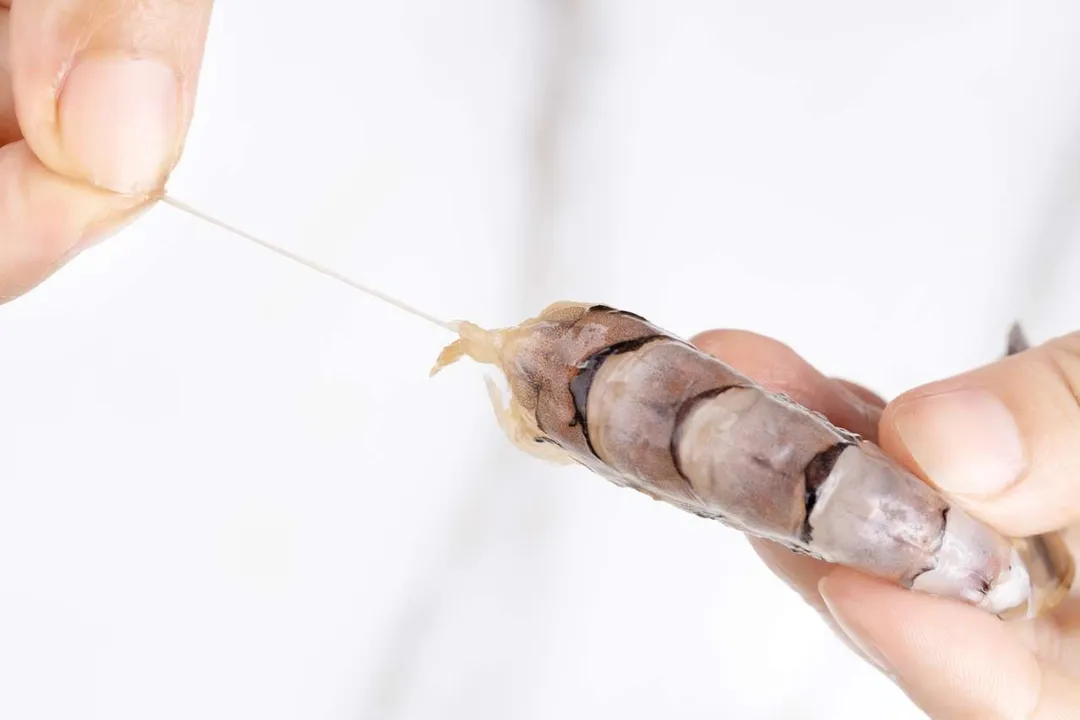
- Step 2: Devein the shrimp
From there, you'll notice a black line. Starting from the top of the shrimp's body, use a knife, a toothpick, or even your finger to lift that vein up and gently but quickly pull it away from the shrimp.

- Step 3: Rinse and repeat
Once done, quickly rinse the shrimp under the cold water to remove any remaining shell fragments. Before cooking, spread them on paper towels and dab away all the moisture.
FAQs
- Can you peel and devein shrimp in advance?
Yes, you can. However, it's best to keep the prepared shrimp refrigerated and used within the first 24 hours for the best taste and texture.
- What can you do with the removed shells and heads?
You can fully utilize the shells and heads by simmering them with aromatics and some liquid to make a broth or stock. It offers a deep sweetness that's perfect for soups, stews, noodle soups, risottos, sauces, and various other dishes.
- Can you devein shrimp after cooking?
Yes, you can. However, it may be slightly more challenging since the vein will most likely stick to the meat and disintegrate more easily.
- What can I make with peeled and deveined shrimp?
Generally speaking, it's all about personal preference so you can pretty much make any dish you want with the shrimp. However, certain dishes can benefit more from these well-prepared shrimp, such as shrimp cocktail, shrimp omelet, shrimp salad, and shrimp wrap.
Conclusion
It's safe to say that knowing how to peel and devein shrimp is always a necessary culinary skill. While it may require a bit of effort and time, the resulting benefits of good hygiene, flavor, texture, and presentation make it more than worthwhile. With this quick step-by-step guide, we hope this process will be an absolute breeze for you.
Luna Regina
Writer, Author

